Today's random tutorial comes about after dealing with a minor issue regarding some faulty DNS info for a client. I can't reveal details but the short version of the story goes like this: the ISP had changed their DNS info and the PIX wasn't handing out the correct info via DHCP.
The solution: Append the correct info to DHCP. But how...
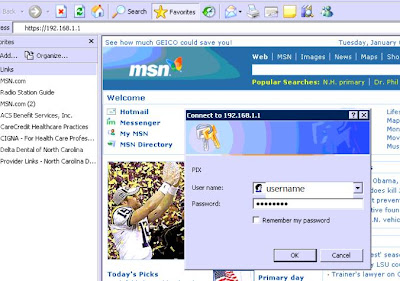
Step 1: Luckily most features are available to change via the PIX web interface. It can be a hassle to deal with the Cisco IOS sometimes. You can access it via secure http *that's https* simply by opening up a browser and slamming out https://pix.ip.address. (Note: You will need the actual IP address not just what I typed just now.)

Note: In this example, as you can see from the address bar, the IP Address is a typical private IP address in the Class C range. (I blanked out the WAN IP for obvious reasons) So you enter your username and password (lolcataz in this hypothetical) and if you have the correct info it takes you to the welcome screen.

From here it's a simple matter to check your settings and review pertinent data before making changes. To access DHCP options click on the configuration tab, select system properties and select DHCP Server under DHCP services from the left hand drop down menu.
You should see something like this, albeit sensitive info won't be crudely blanked out or circled in red. To manually input new DNS numbers: type them in standard IPv4 format. To select auto configuration for your PIX just check the box with the little red circle around it.
Easy money. Make sure to save changes or all will be for Naught. Thus concludes random tutorial #1 be sure to stay tuned for further randomness.
End Post
PS It has been nearly 8 months since I quit smoking.

No comments:
Post a Comment